Administration
Admins manage organization-wide configuration including items, actions, policies, user access, authentication, and integrations settings. All of these settings are accessible under Settings in Coop.
Item Types
Item Types represent the different types of entities on your platform. See Concepts → Item Type for details.
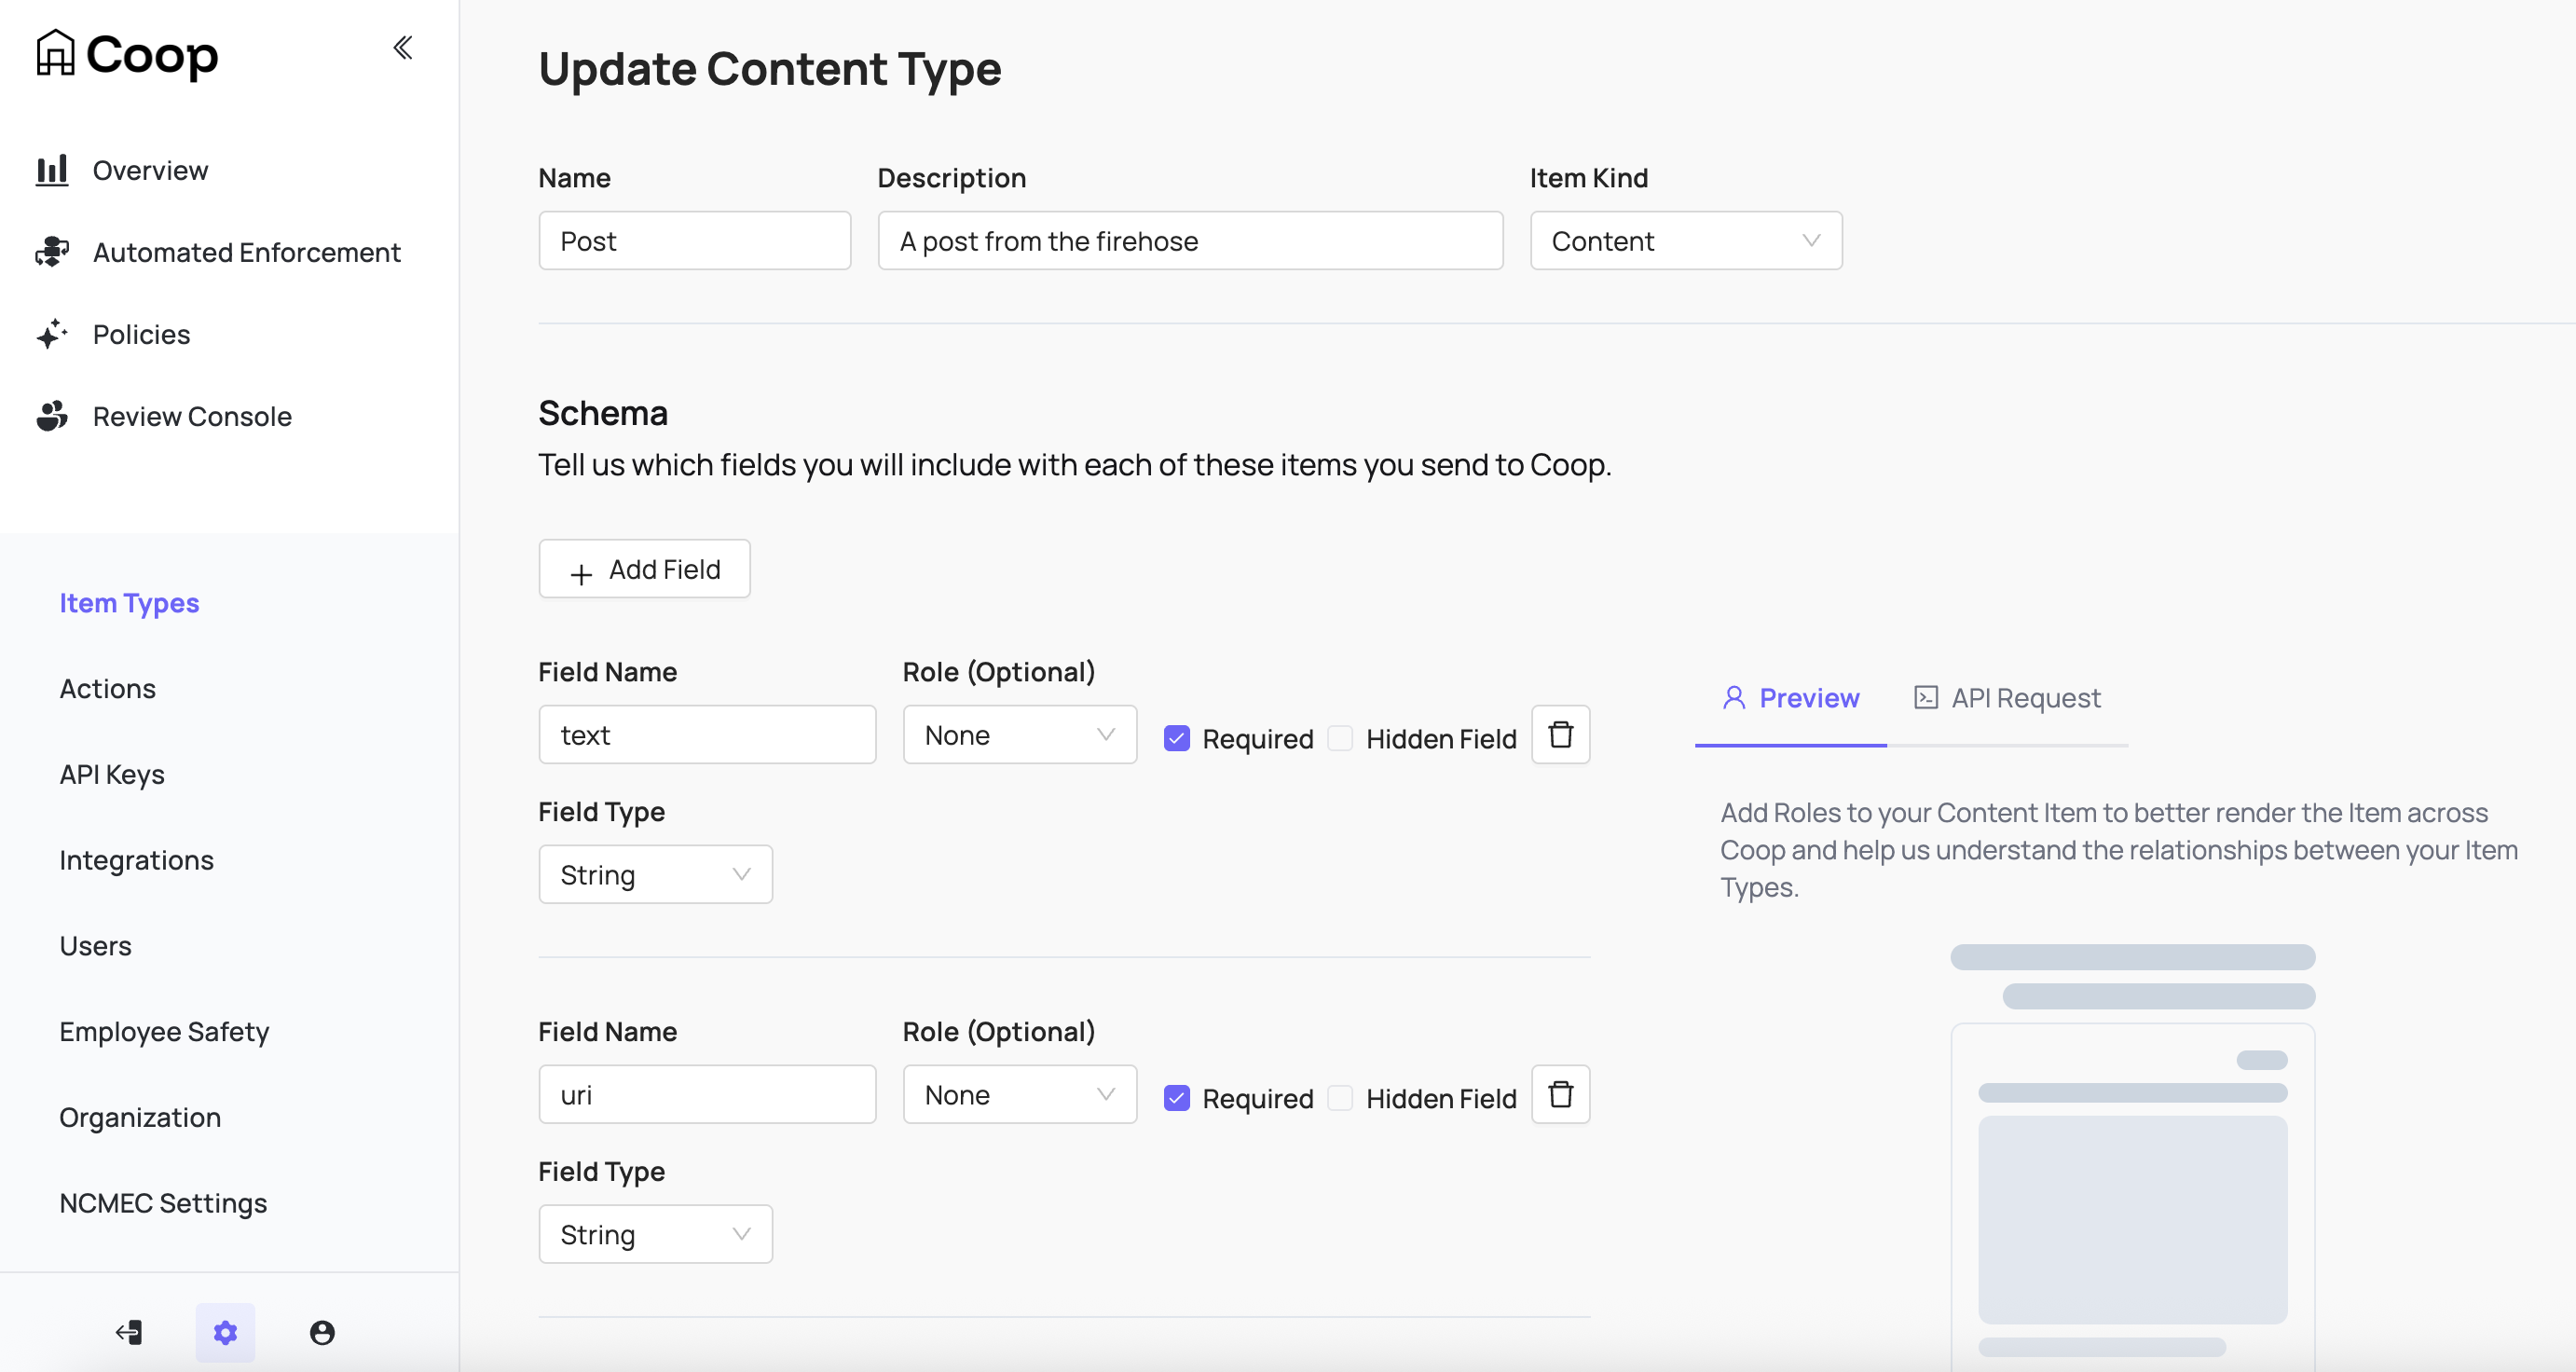
When creating an Item Type, define the schema to include which fields will be included and shown to reviewers. These fields are also available in any rule logic to connect with signals for routing or automation.
Actions
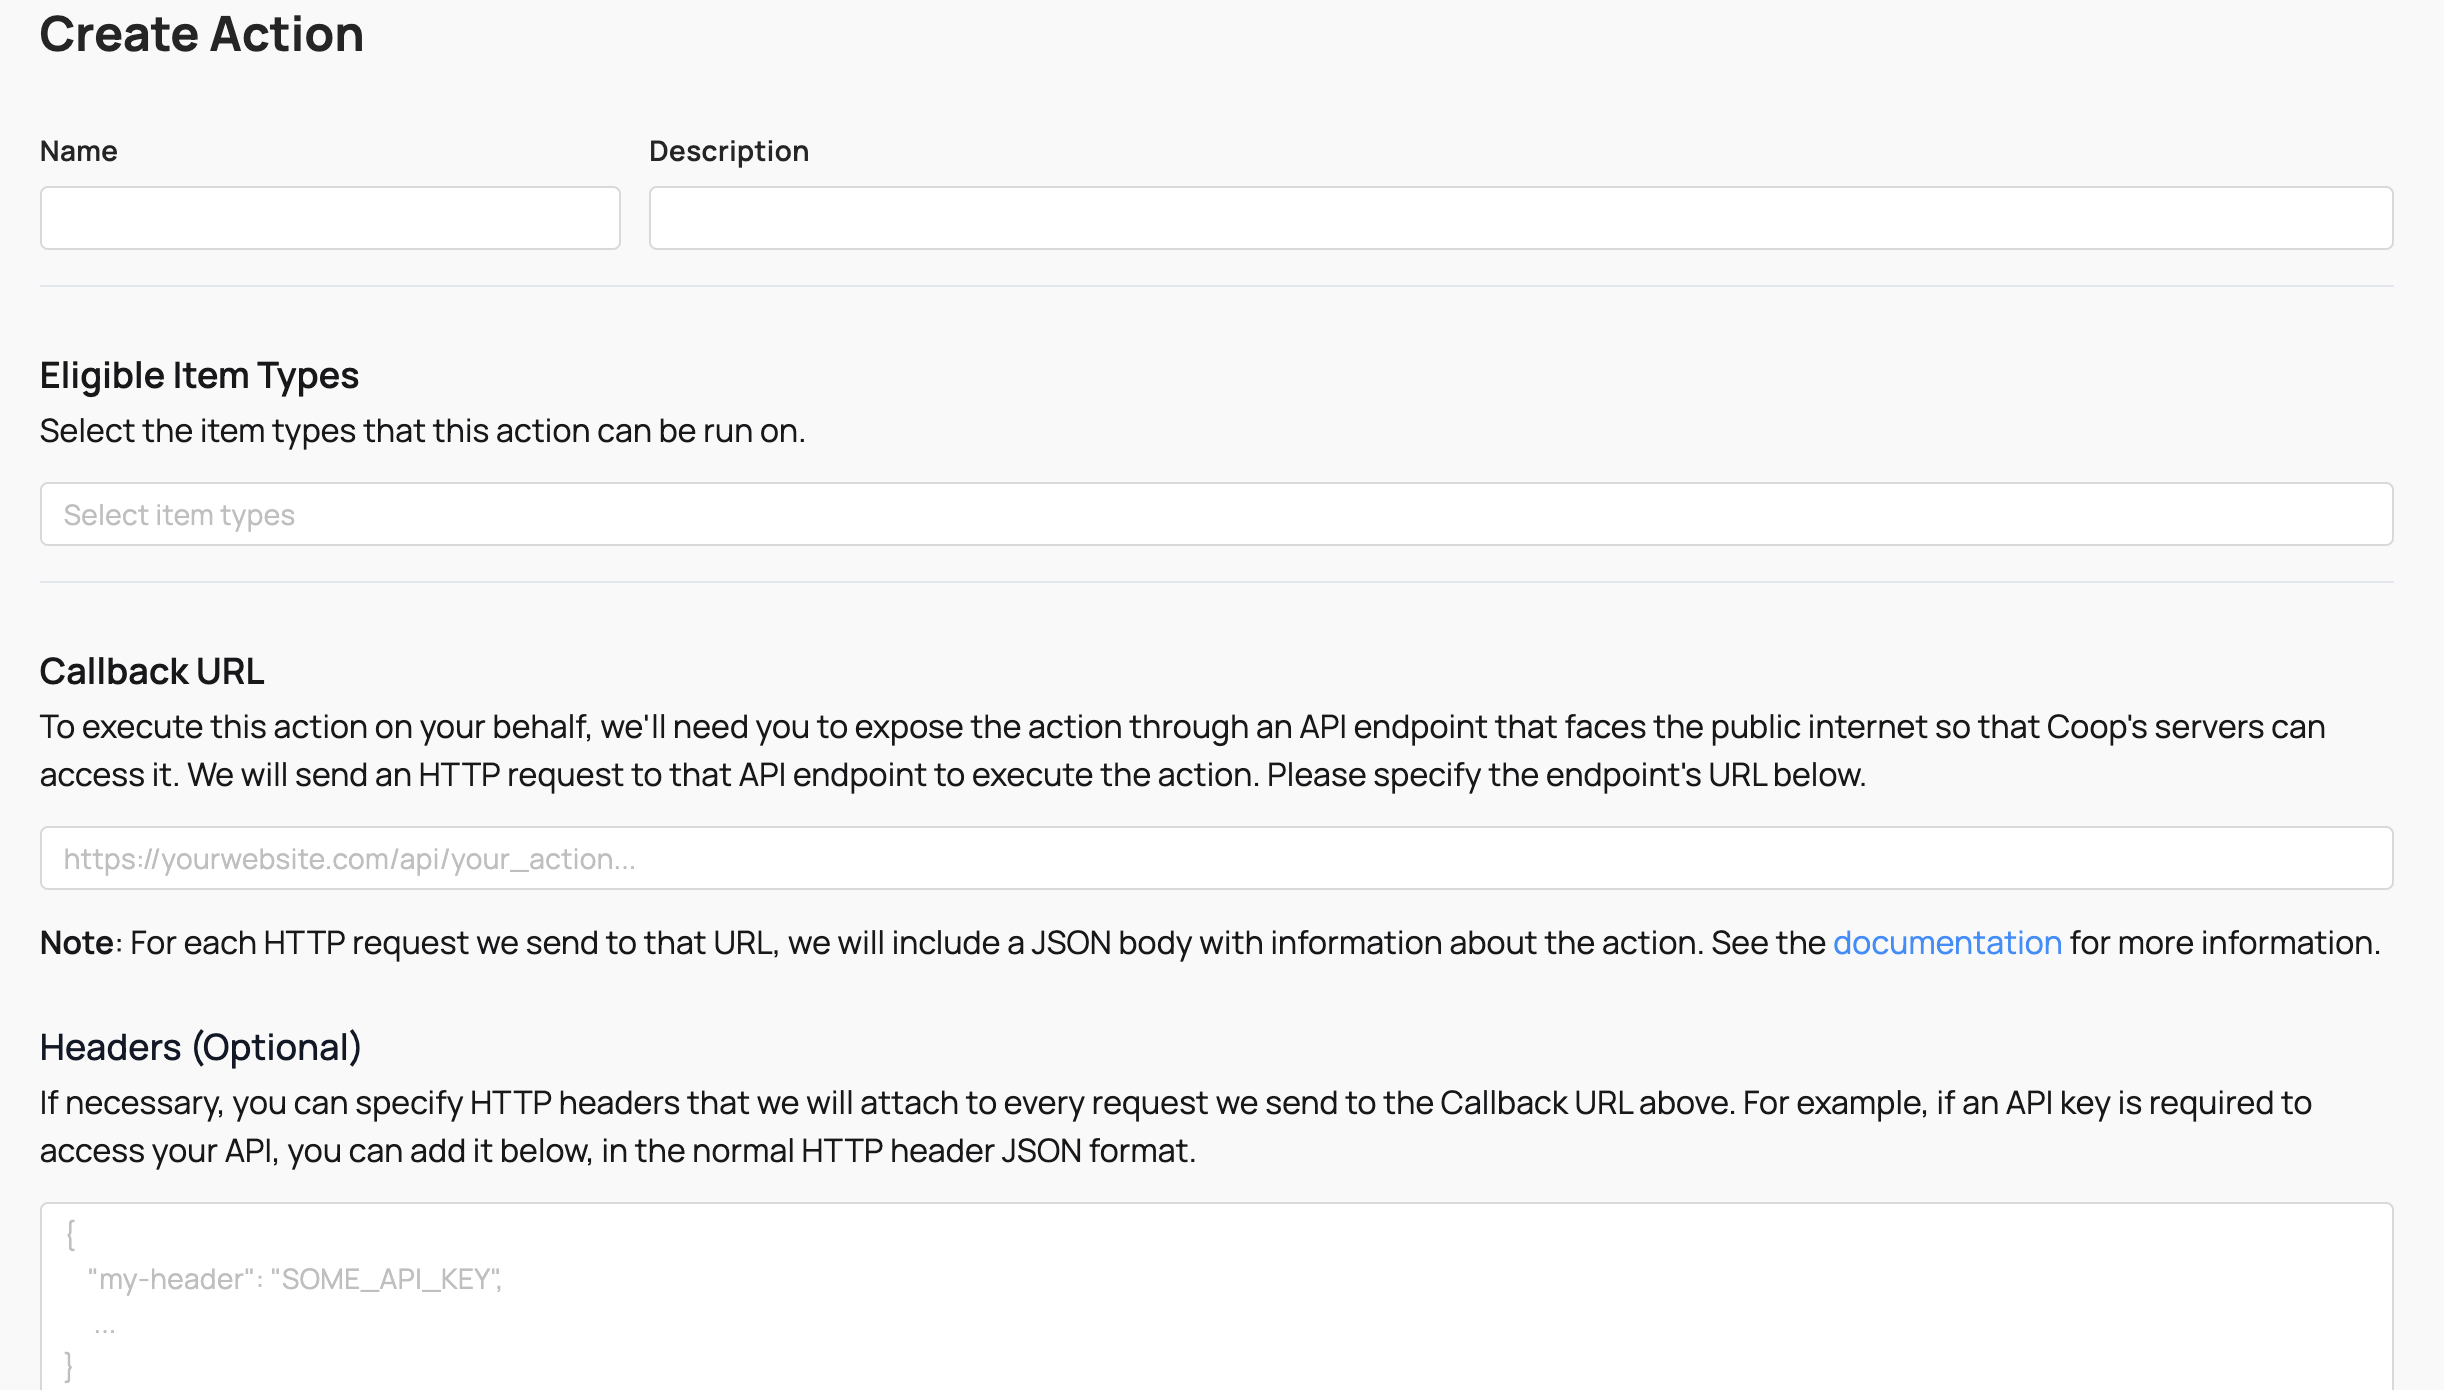
Actions represent anything that can be performed on Items by proactive rules or moderator decisions. See Concepts → Actions for details.
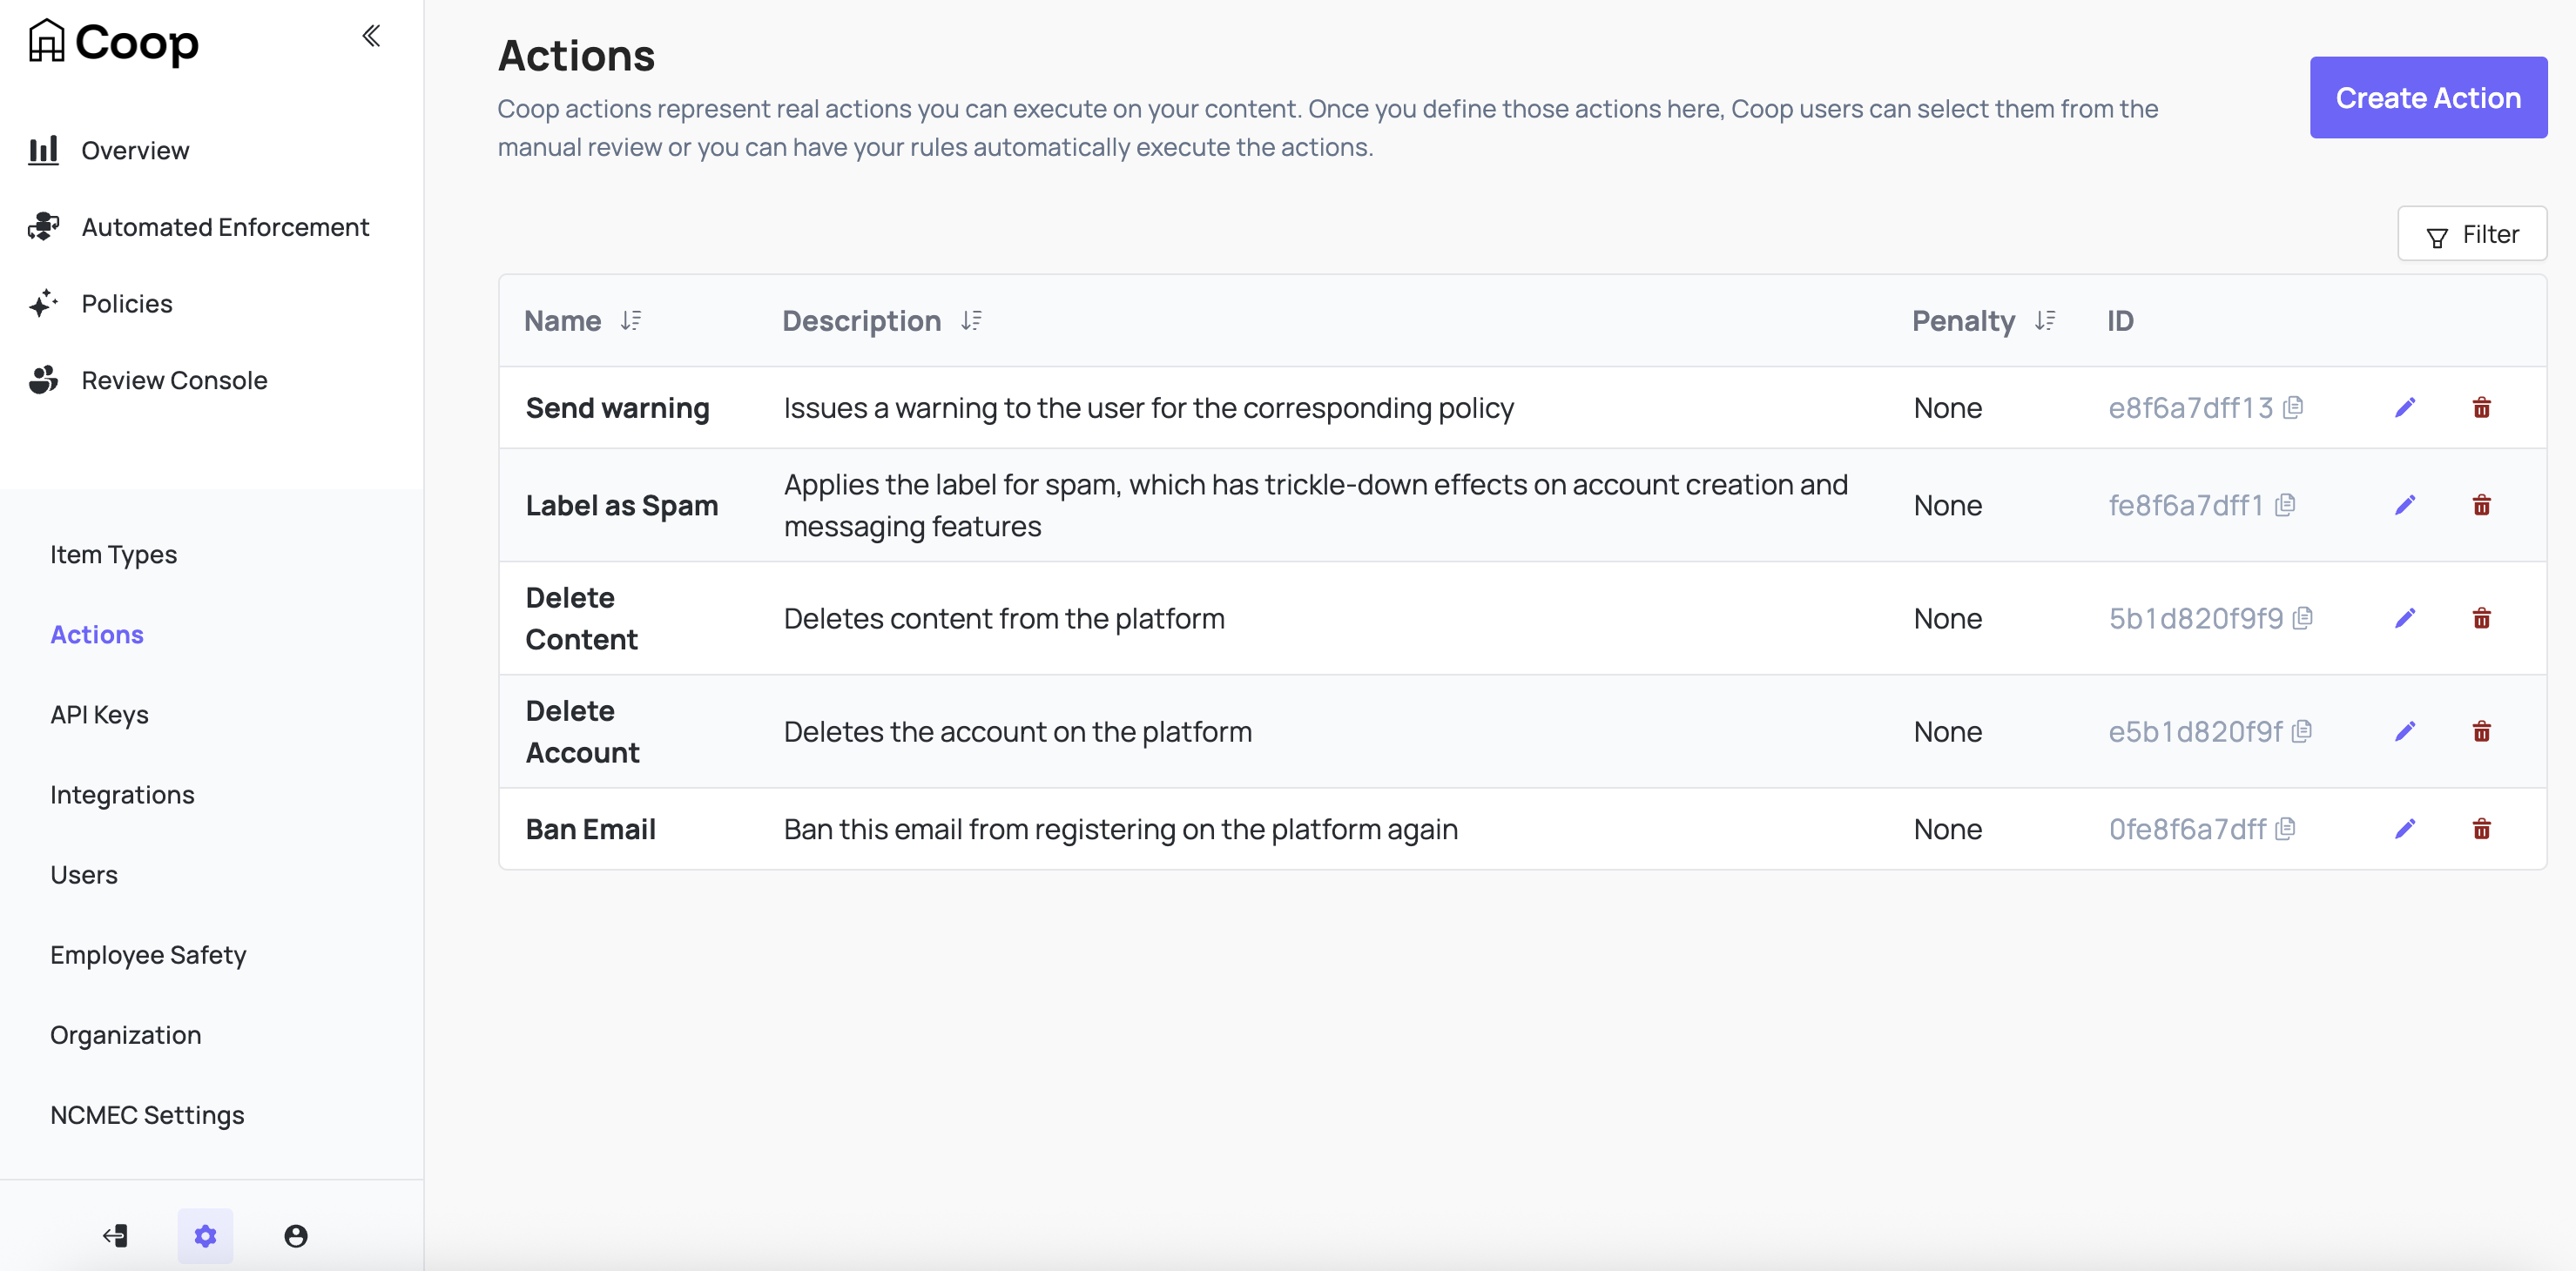
Actions are paired with API enpoints on your platform. See Handling Actions for technical details.
Policies
Policies are the set of rules and guidelines that a platform uses to govern the conduct of its users. See Concepts → Policy for details.
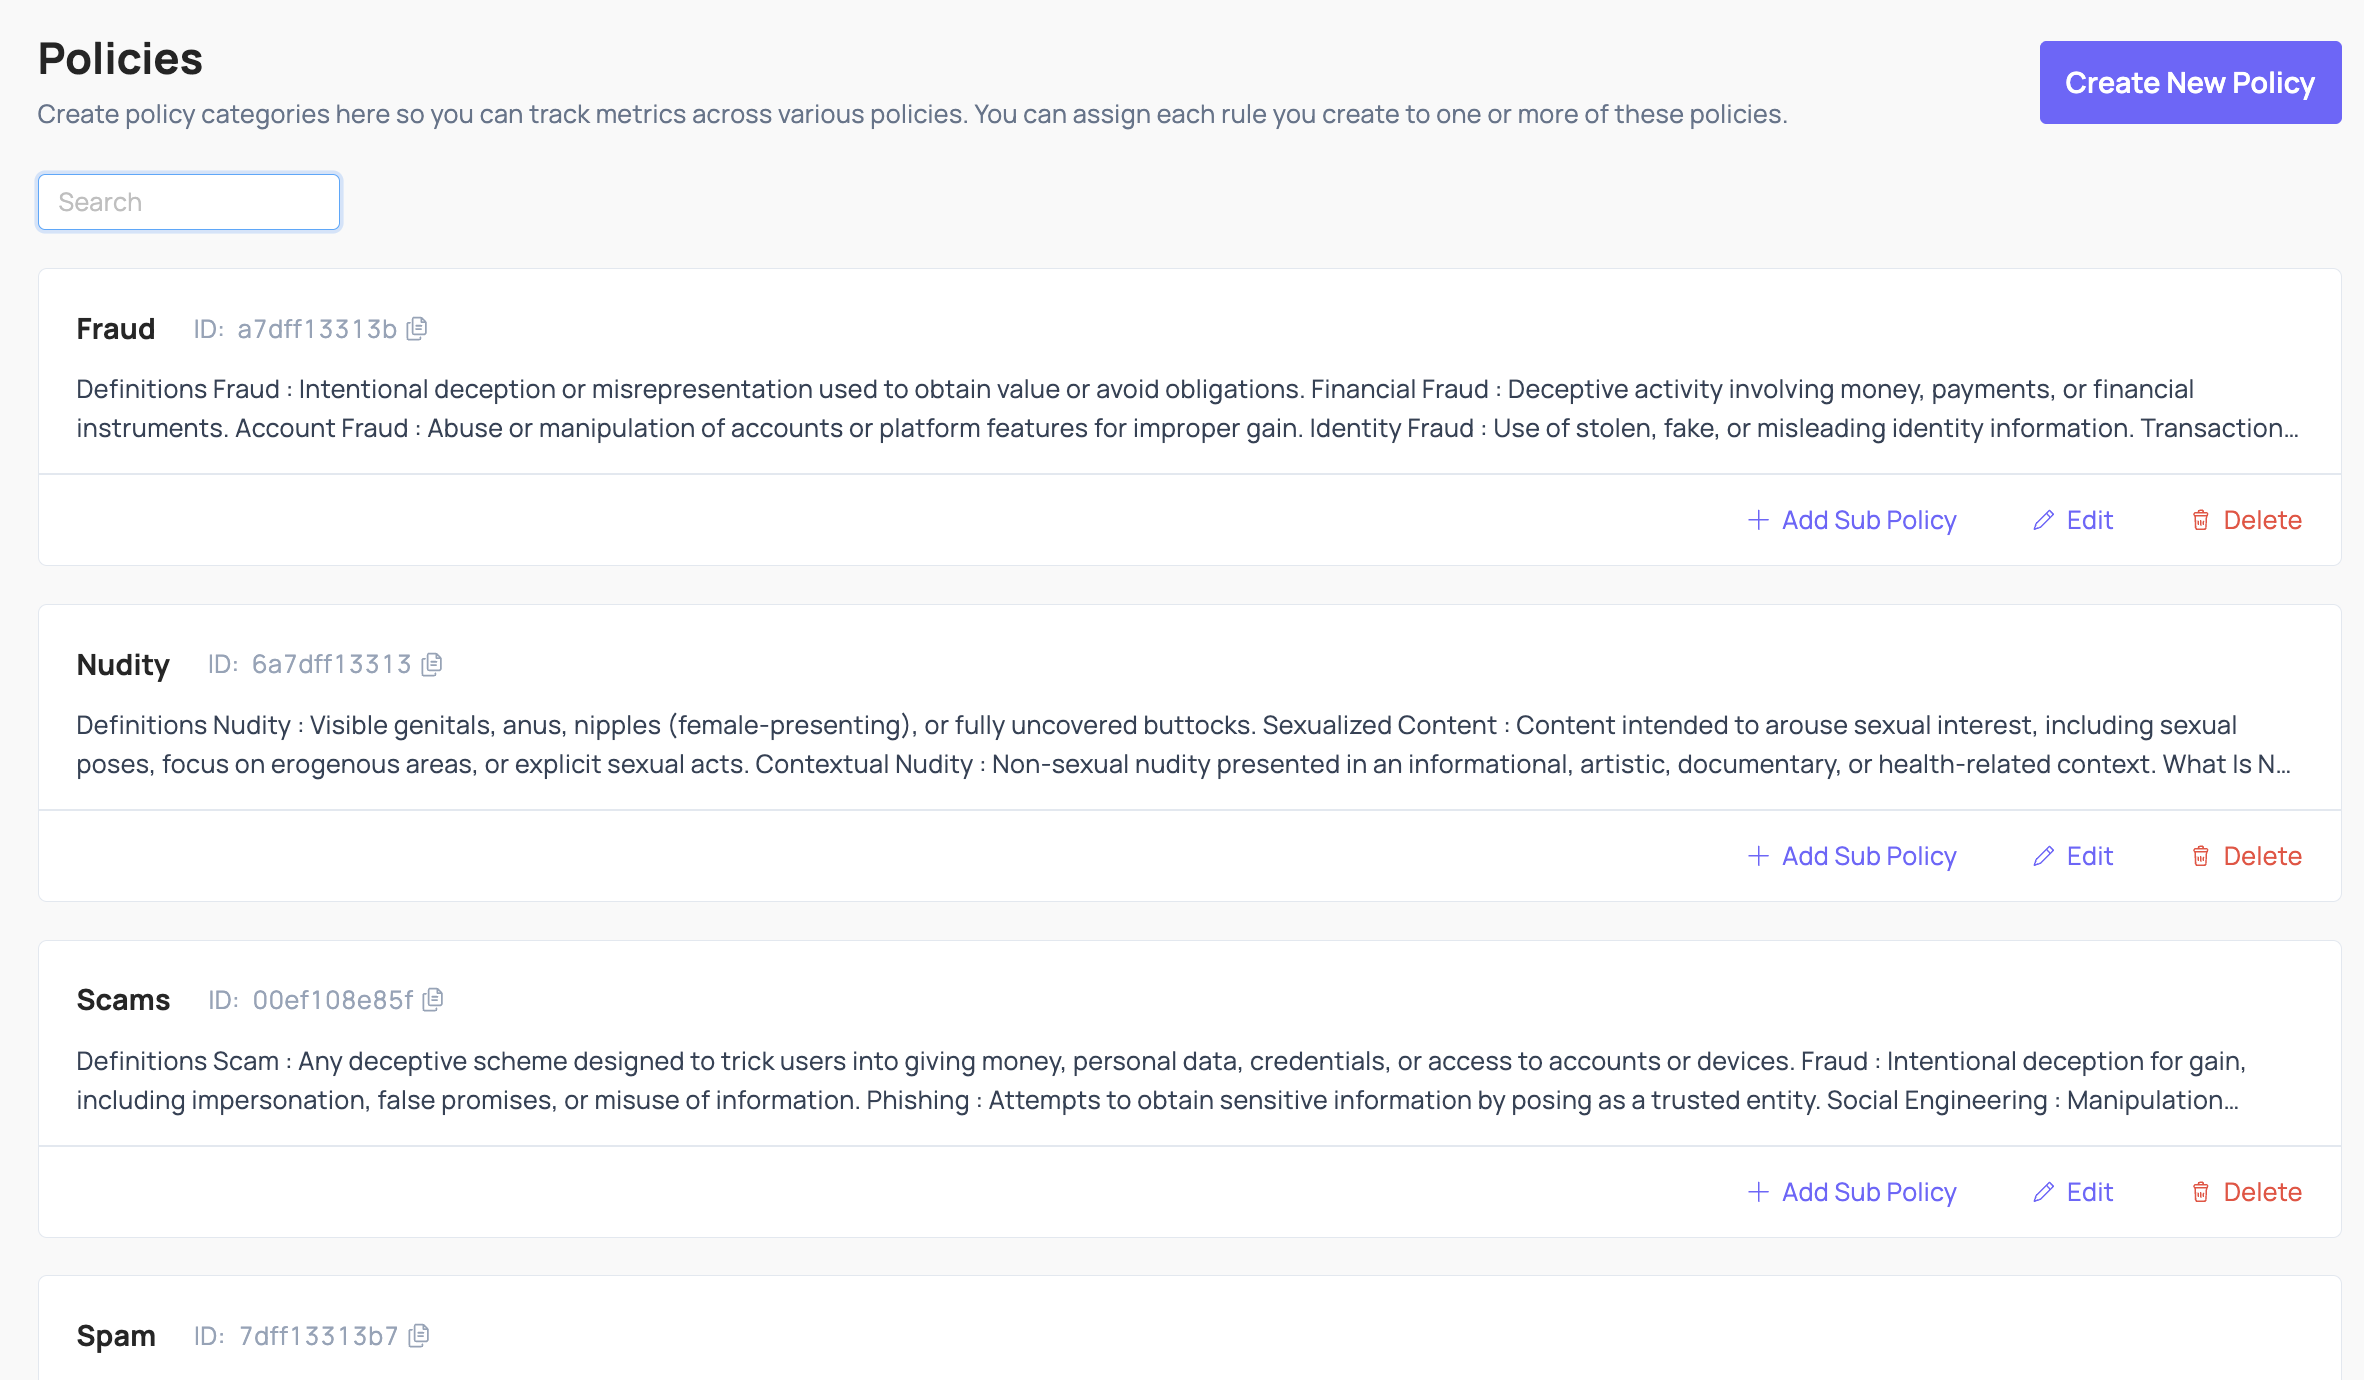
Policies added in Coop’s UI are visible to reviewers directly in the Job view of the Review Console.
User management
Coop uses role-based access controls to ensure the right people can access the right data.
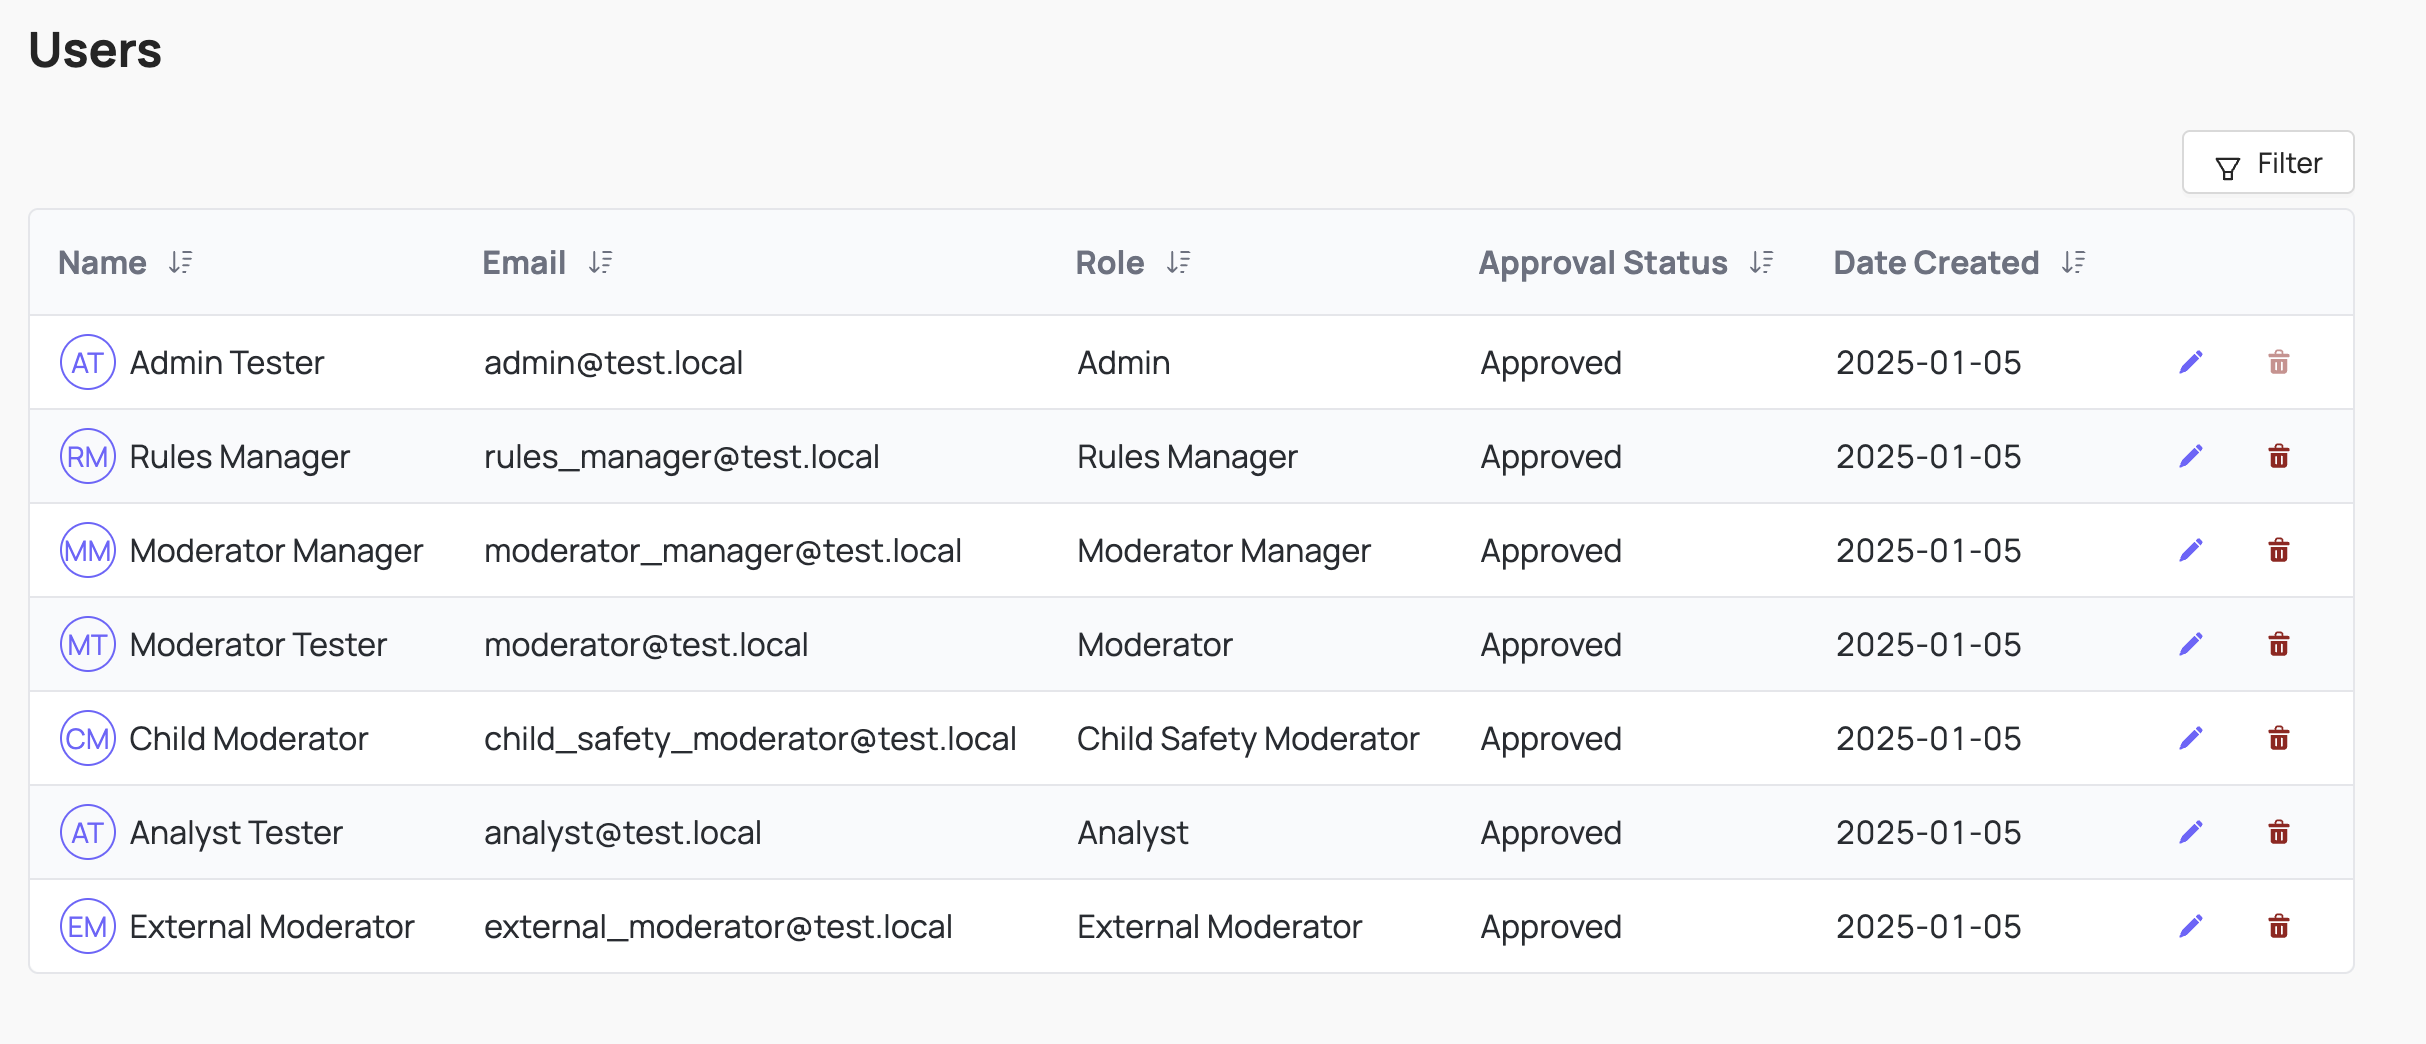
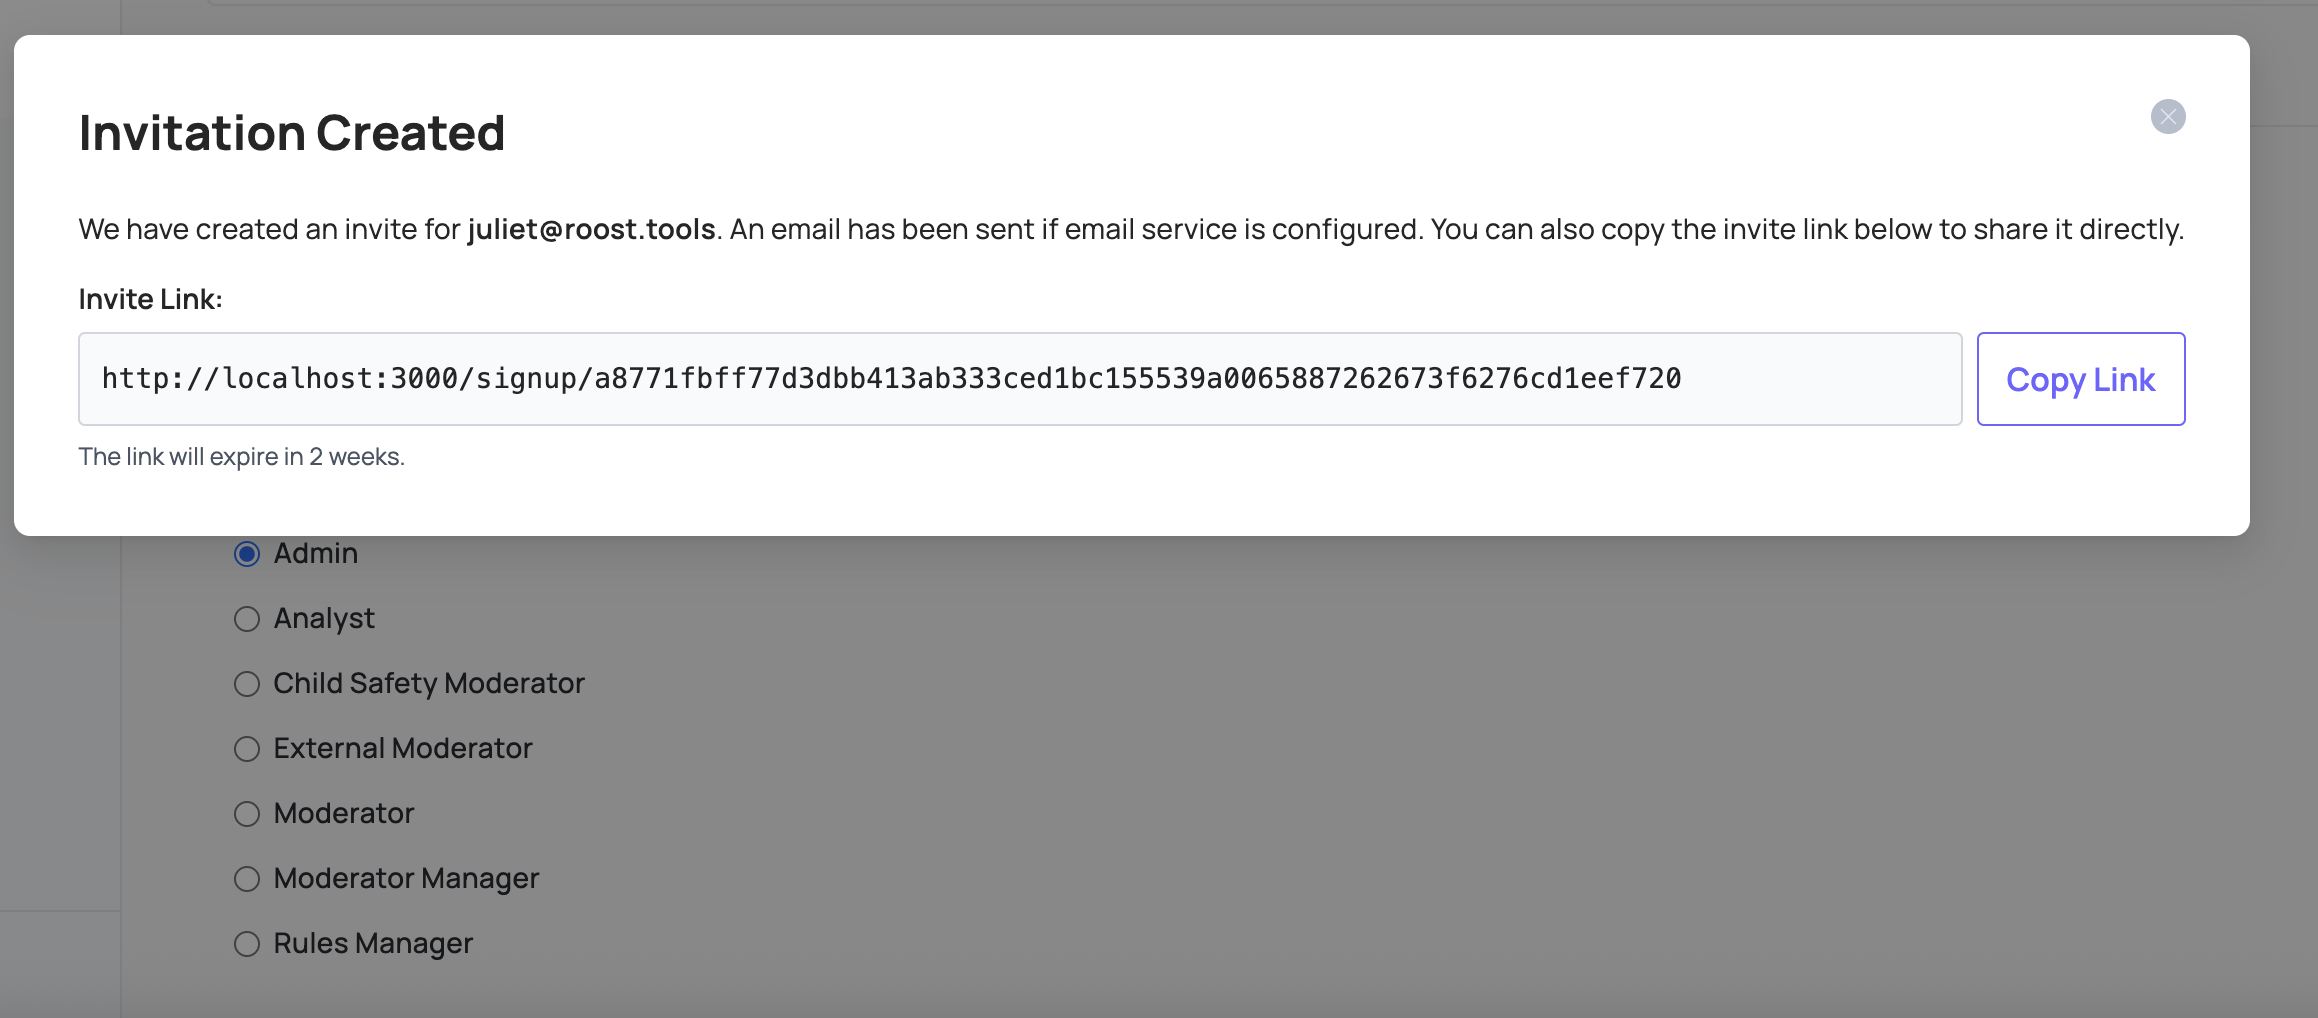
You can invite users from Settings → Users, either copying the invite link to share directly or configuring an email service to send it automatically.
Roles
Coop comes with seven predefined roles:
| User Role | Access Review Console | View all Queues | Create, Delete and Edit Queues | Create, Delete and Edit Rules | Access NCMEC data | Access Insights |
|---|---|---|---|---|---|---|
| Admin | Yes | Yes | Yes | Yes | Yes | Yes |
| Rules Manager | No | No | No | Yes | No | Yes |
| Moderator Manager | Yes | Yes | Yes | No | Yes | No |
| Child Safety Moderator | Yes | No | No | No | Yes | No |
| Moderator | Yes | No | No | No | No | No |
| Analyst | No | No | No | No | No | Yes |
| External Moderator | Yes | No | No | No | No | No |
Admin: manage the entire organization. They have full control over all resources and settings within Coop.
Rules Manager: can create, edit, and deploy Live Rules, run retroaction and backtests, view rule insights, manage policies, use the Investigation tool, and bulk-action content. They cannot manage users, queues, or other organization-level settings.
Moderator Manager: can view and edit all queues within the Review Console, manage moderator permissions, use the Investigation tool, and bulk-action content. They can also view child safety data.
Child Safety Moderator: the same permissions as Moderators, but can also review Child Safety jobs and see previous Child Safety decisions.
Moderator: can access the Review Console, but can only review jobs from queues they’ve been given permission to see. They cannot see any Child Safety-related jobs or decisions.
Analyst: can modify and test Draft and Background Rules, run backtests, and view rule insights and the Investigation tool. They cannot create or edit Live Rules, run Retroaction, or access the Review Console.
External Moderator: can only review jobs in the Review Console. They cannot see any decisions or use any other tooling.
SSO
Coop supports single sign-on via SAML, e.g. with Okta.
Example: Okta
Configuring Okta SAML for Coop requires:
- Admin mode in Okta
- Group names that match exactly between Okta and SAML
- Admin permissions in Coop
- Ability to create a custom SAML application
To set it up:
-
Create a custom SAML application in Okta with the following settings:
Setting Value Single sign-on URL Your organization’s callback URL (e.g. https://your-coop-instance.com/login/saml/12345/callback). Find this in Coop under Settings → SSO.Audience URI (SP Entity ID) Your Coop instance base URL (e.g. https://your-coop-instance.com).emailattribute (in Attribute Statements)email. This depends on your identity provider’s attribute mappings (e.g. Google SSO may use “Primary Email”). -
In the Feedback tab, check I’m a software vendor. I’d like to integrate my app with Okta.
-
In your app’s settings, go to the Sign On tab. Under SAML Signing Certificates → SHA-2, click Actions → View IdP metadata.
-
Copy the contents of the XML file. In Coop, go to Settings → SSO and paste the XML into the Identity Provider Metadata field.
-
On the same page, enter
emailin the Attributes section. -
In your Okta app under Assignments, assign users or groups to your app.
API Keys
Coop uses API keys to authenticate requests between your platform and Coop.
Coop API key
To authenticate requests your platform sends to Coop, include your organization’s API key as an HTTP header on every request. You can find or rotate your key in Settings → API Keys.
X-API-KEY: <<apiKey>>
Content-Type: application/json
To verify that incoming requests to your Action endpoints were sent by Coop, use the webhook signature verification key shown in Settings → API Keys. See API Keys and Authentication in the Development Guide for implementation details.